Install GIMP-ML
- Download the macOS installer from the latest GIMP-ML release.
- Fully quit GIMP with Cmd+Q. Open the downloaded file and double-click Install GIMP-ML.
- Follow the prompts. If asked, select your GIMP application.
- Open GIMP and find the plug-in under Filters > GIMP-ML.
Setup may take a few minutes while it downloads what it needs. Once it finishes, you can eject the installer in Finder. You won't need to keep it open to use GIMP-ML.
First launch on macOS
This installer hasn't been verified by Apple, so your Mac may block it. Only if you trust the download from this project's official release, go to System Settings > Privacy & Security and choose Open Anyway if offered.
- Sign in to OpenRouter or Google AI Studio and create an API key. Think of this as a private access code that lets GIMP-ML use your account.
- Copy the key, then open Filters > GIMP-ML > Settings... in GIMP.
- Paste it into the field for the service you chose and click Save.
- When creating or editing an image, choose that same service in the Provider menu.
Your Mac stores the key securely in Keychain. You won't see the saved key in Settings again; a blank field does not mean it has been lost. Leave it blank to keep the saved key, or check Remove saved with the field blank to delete it.
Keep your key private, just like a password. Saving it doesn't check whether your account has enough credits; your first image request will use the service.
Make a new image
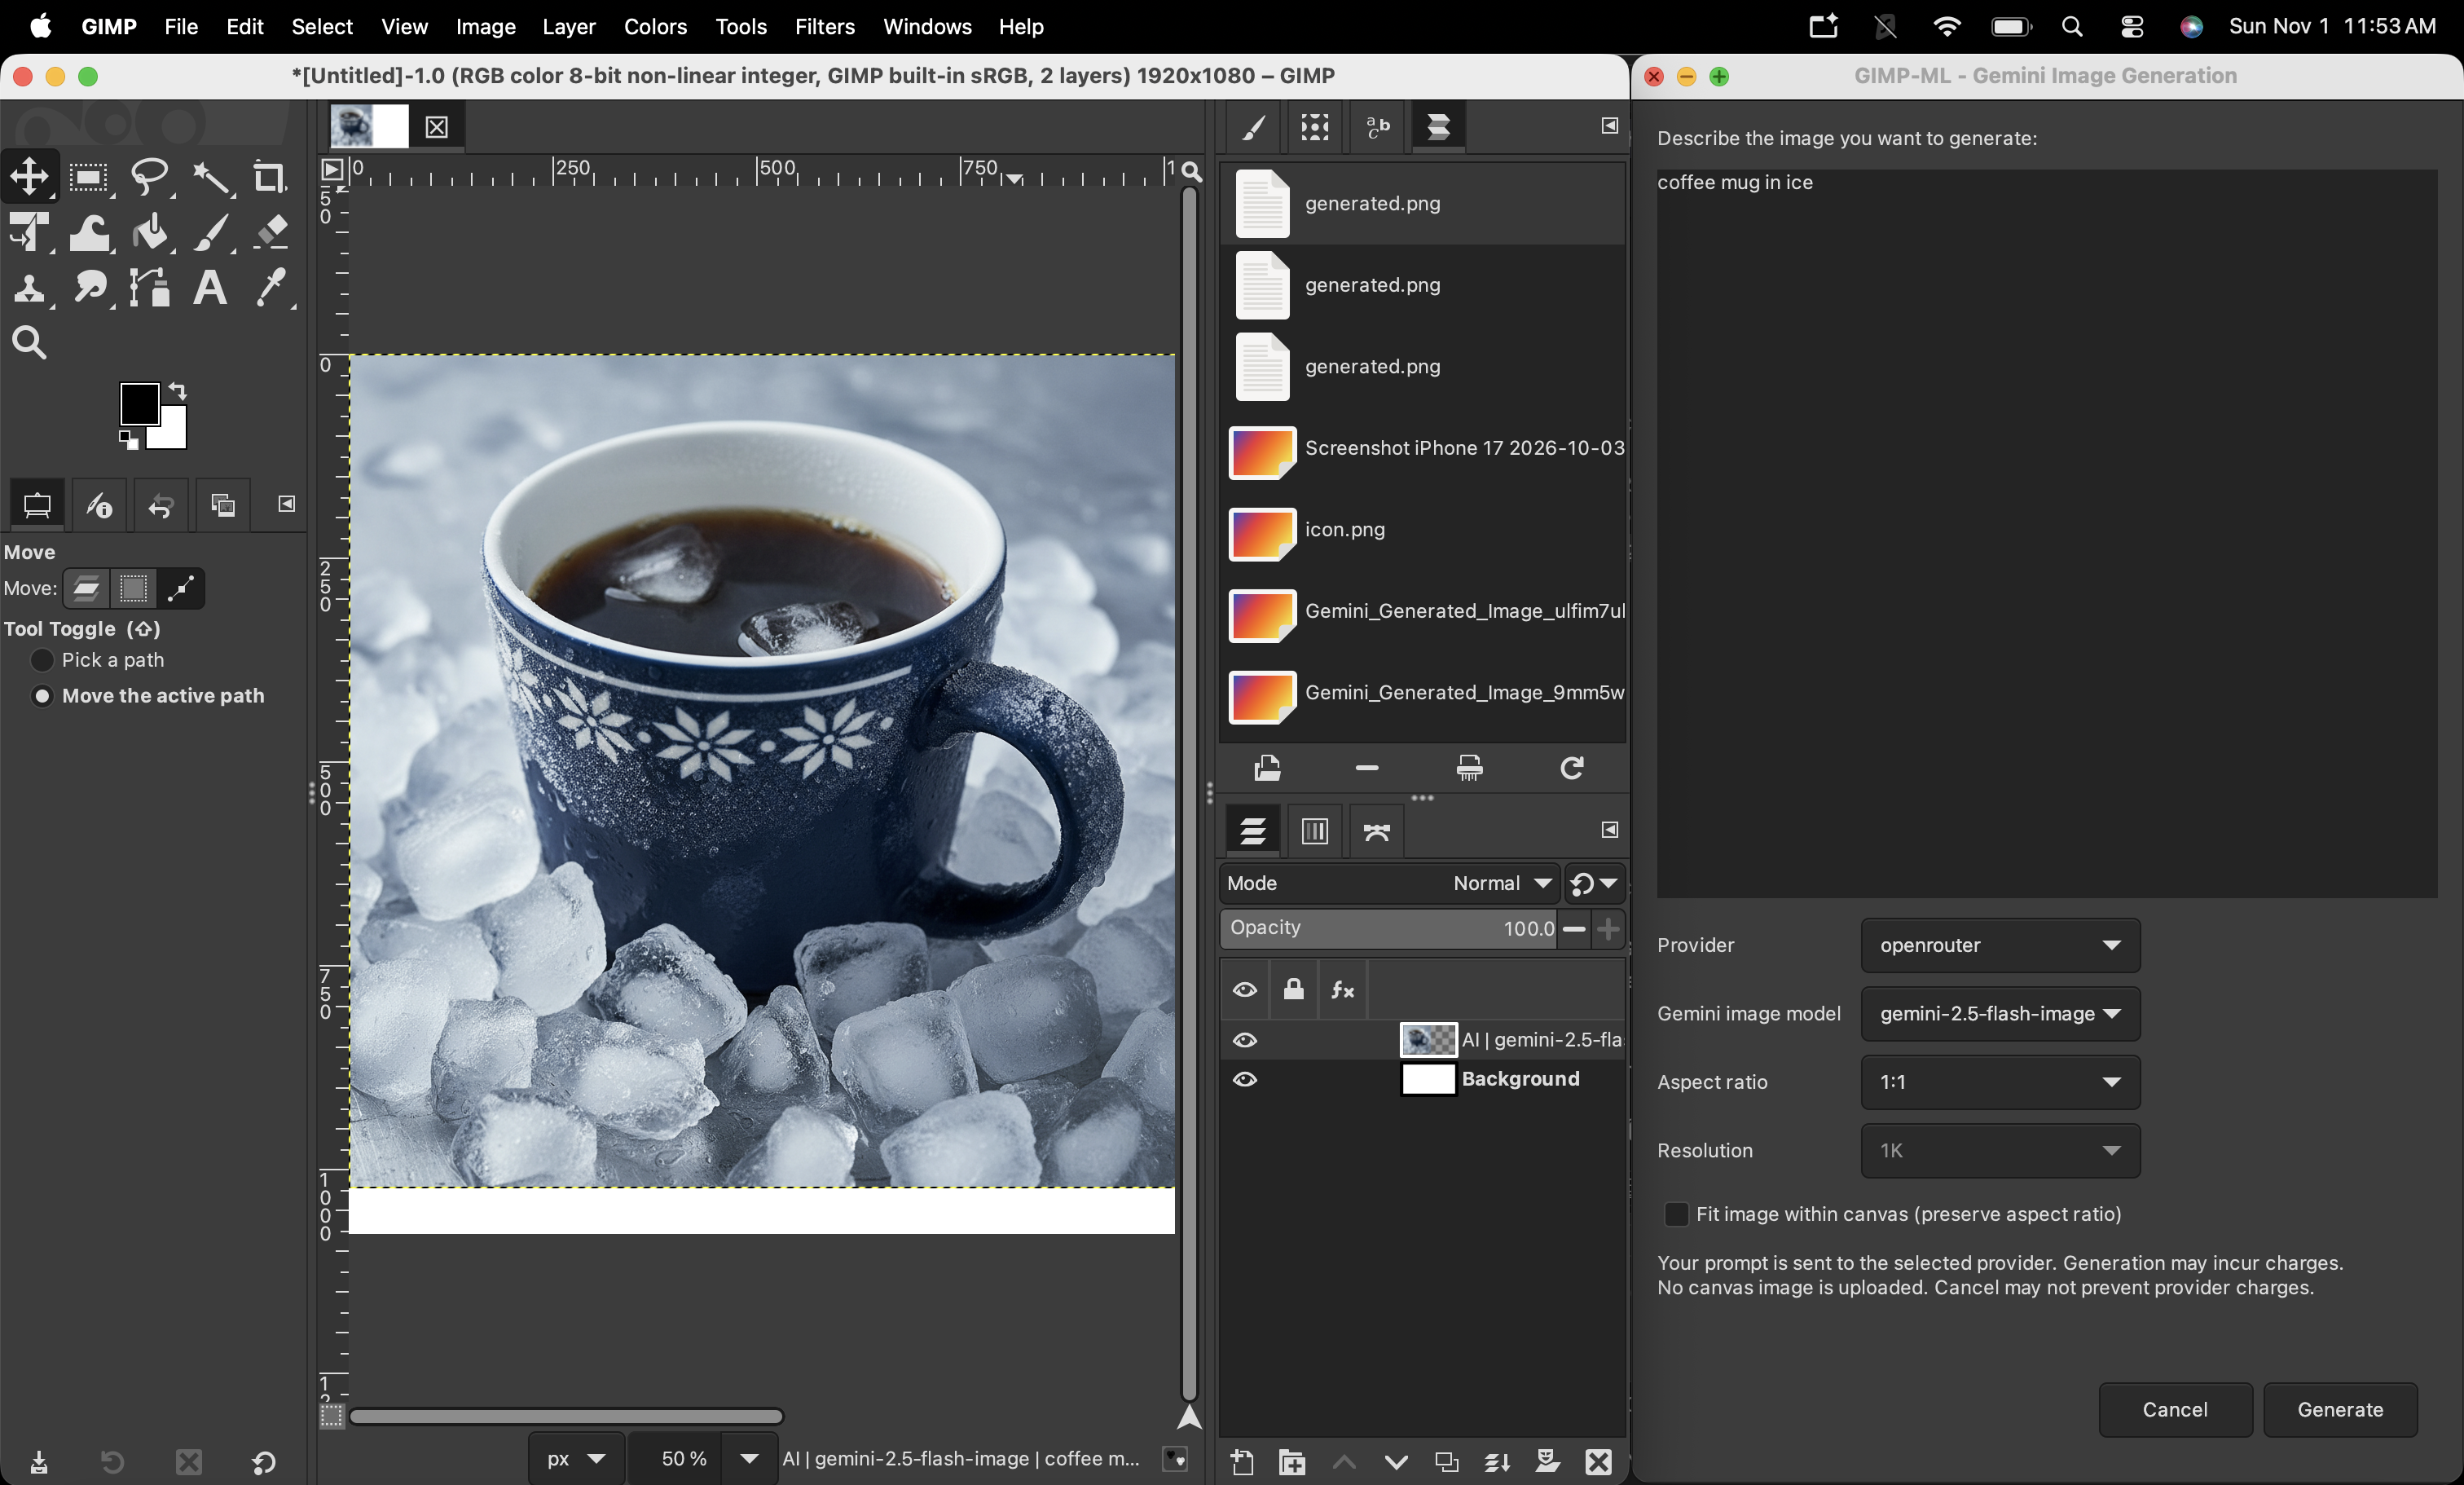
- Choose Generate Image.... You don't need to open a photo first.
- Describe your idea, for example: "A ceramic coffee mug surrounded by ice, soft studio lighting, pale blue background."
- Choose the service you connected, pick an image shape and size, and click Generate.
Your image appears in GIMP. If you already have a picture open, the result is added as a new layer, so the original stays in place.
Change an existing picture
- Open your picture in GIMP.
- Choose Edit Visible Canvas... to send the picture as it appears on screen. To work with just one layer instead, select it and choose Edit Selected Layer....
- Describe the change, for example: "Make the background look like a sunny beach, keeping the mug as the main subject."
- Review the upload consent option and agree only if you're comfortable sending the picture to the online service.
- Click Apply Edit.
Keep the new-layer option to preserve your original. If you choose to replace it instead, you can undo the change in GIMP.
AI results can vary. Be clear about what you want to change and what you want to keep, and review the result before saving. Even a small requested edit may change other parts of the picture.
- Image shape: choose square, wide, or tall proportions to suit your idea.
- Resolution: 1K is a good starting point. Choose 2K or 4K when you need a larger image; these options require Gemini 3.1 Flash Image or Gemini 3 Pro Image.
- Fit image within canvas: when creating an image in an existing document, this option fits the result inside the picture area without stretching it.
The starting settings are a square image at 1K. Check the service's pricing before choosing a different model or larger size.
For sensitive or private pictures, check the service's privacy policy before uploading. Selecting one layer may send parts of that layer outside the visible picture area, too.
The online service may charge for each request. If you cancel after a request has been sent, GIMP-ML won't apply the result, but the service may still charge you. Review your usage and spending in your service account.